Showing posts with label craft. Show all posts

Thursday, 23 January 2014

Cupcake Pencil Toppers with Downloads!

I've organised myself enough that this will be the first year I actually properly acknowledge the kids birthdays. I have always had the class sing the song etc, but I have never had anything to give them in the way of a card or special stickers like some teachers have.
I saw these pencil toppers on Pinterest, however the link didn't go anywhere which was a bit annoying.
I used the Scan n Cut online software to make the templates for the top and bottom of the cupcake with the cut lines out of the basic shapes available layered on top of each other, so I didn't need to print anything or trace anything, just put the paper in the machine and let it do its magic! This cost me around $30-$35, but that is the cost of all the paper packs (closing down sale) and the pencils. I partially used 2 or 3 sheets from each pack, so the actual cost is much lower on a 'per pencil' basis.

To make these you will need:
-Scrapbook paper in a variety of colours/patterns/textures. My template fits 9 of the bases onto a mini square sheet and 6 of the large icing parts.
      Base Cut file for Scan'n'Cut
      Icing cut file for Scan'n'Cut
      Base image to print
      Icing image to print
-White card stock for the small inner icing parts
-Cute pencils or pens to put them on.
-Scan'n'cut machine (or you can print and trace to cut them out yourself)

1. Choose your papers!
2. Load the base and icing cut files onto a USB to use in your machine, or print and cut using the picture template. The image file hopefully can be used with other cutting machine software.


3. Arrange the shapes according to how many you want to cut on each paper. I always stick down the papers as I find the mat is just not always quite sticky enough, even then sometimes after the outline is cut a piece will still move and not cut quite right. It's a bit of trial and error with different papers.

4.Cut out you large icing backs using the regular size cut file. For the white smaller part, I reduced the size of one a couple of time until I was happy with it (about 10mm in the width option with the height/width ratio locked), again it is a bit trial and error here depending on how much writing space you want and how much colour from the back ground you want.


5. This is where the machine really earns its keep. Increase the number of icing clouds to meet your needs or fill up your paper. I cut 24 in one go and still had room for more!


6. Assembling these is quite easy. Choose a base and icing background to go with the white. Glue the white to the front and when dry enough, write your message. Give the top and bottom pieces a bit of a bend to put them into shape.
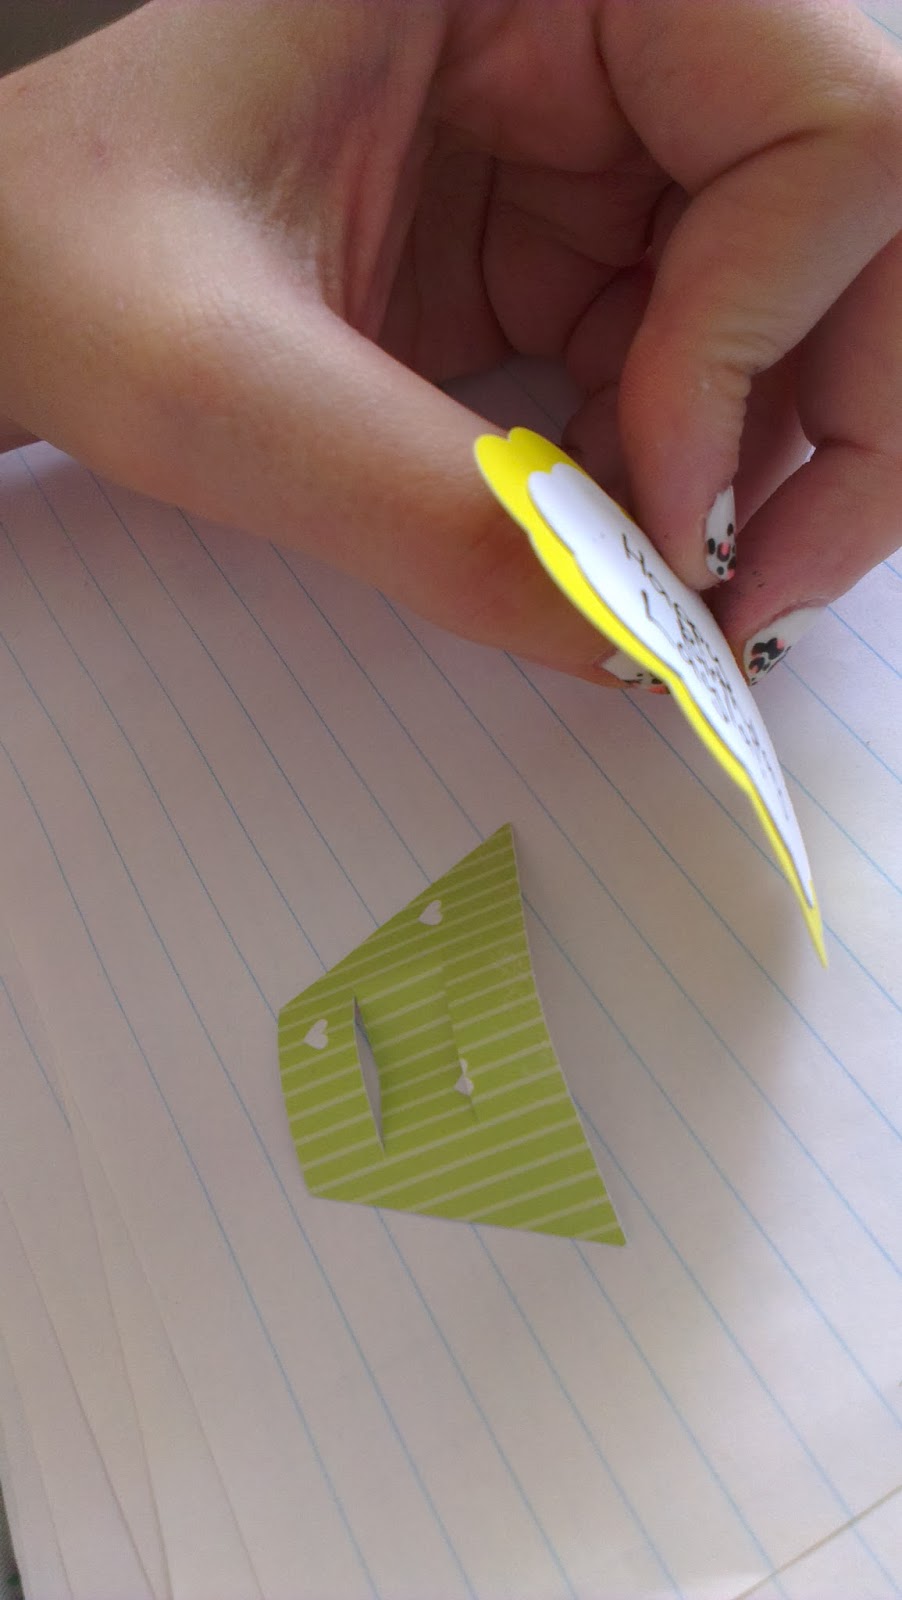


7.Stick the base to the top with enough over-lap to cover the top slot. Cut off any excess tape.


8.Put your pen or pencil in through the top and you are ready with a cute gift, and if you already have a scrap-booking stash or even used some recycled goods, all it cost you were the pencils!


Wednesday, 22 January 2014

Back to School Clothes and Stationary HAUL

So, what's more fun than actually doing the preparation I need to for the new school year? Shopping for it of course!
After some light shopping yesterday afternoon, I initially went out to my favourite shop outside Kmart, but for pretty much the first time ever, couldn't find anything I wanted to spend my gift voucher on. So I wanted into Kmart to look for school supplies and ended up getting heaps of cheap tops and basics.
After that I went to Target, another random cheapo kind of shop and a Kaisercraft shop.
Finally this evening I went to Officeworks, and aside from heading back to Kaisercraft tomorrow to get cute papers to make these (below) pencil toppers, I have no excuses to not start addressing what actually needs doing.

Clothes:
Yellow, longish, hi-lowish, lace embellished tank- Kmart- $12
Peach/apricot, longish, hi-lowish, lace embellished tank- Kmart- $12
Owl print, flowy tank with buttons- Kmart- $12
Floral print, flowy tank with buttons-Kmart-$12
Leopard Print round neck jumper-Kmart-$20
Purple/green layered work out top- Kmart-$12
Black/purple layered work out top- Kmart- $12
Basic singlets with shelf mint and turquoise, no shelf black- Kmart- $3 each
Basic tank top dusty coral and dusty magenta (not as bright as they show up here) $2 each
Floral embellished strap tank-Temt- $19.95
Basic tank tops black, nude-Temt- 6.95 These feel like a much more expensive material, its a synthetic blend and is like a slightly suedey microfiber 
Basic Singlet, nude-Temt 4.95 Same fabric as the tanks.


Navy/Cream Damask harem (ish?) pant- Caroline Morgan- $20
Navy stretch skinny pant with zip detail-  Target- $15

Stationary (and random make up)

Five drawer storage tub, blue- Officeworks- 16.96
3 pack binder display books- Officeworks- $2.99
Pick'n'mix bulldog clips and magets- Officeworks- $4.99
Purple wire mesh tray and bin- Officeworks- $5 each
White 2D ring binder- Officeworks- $3.83
Tropical bird print binder- Kmart- $2
Geoprint pastel wrapping paper- Kaisercraft- $1
My Day Chart calendar- Kikkik- $5
Monthly planner (to use as weekly timetable) Kikkik- $10
Lexar USB drive 8GB- Big W- $4.95
Maybelline Dream Pure BB cream, medium- Big W- $15.75
Maybelline Age Rewind under eye concealer-Big W- $~16 Annoyed at myself for these two, I realised this morning that I should have gone to Priceline and got 3 for 2. They are both good products though, so I'm not too bothered. 

All in all I think I got really good buys for pretty much everything and should get good use/wear out of it all, pretty pleased, but not excited at the prospect of putting it away and clearing out some old stuff that is getting replaced. But that's a problem for future Emily. 

Wednesday, 15 January 2014

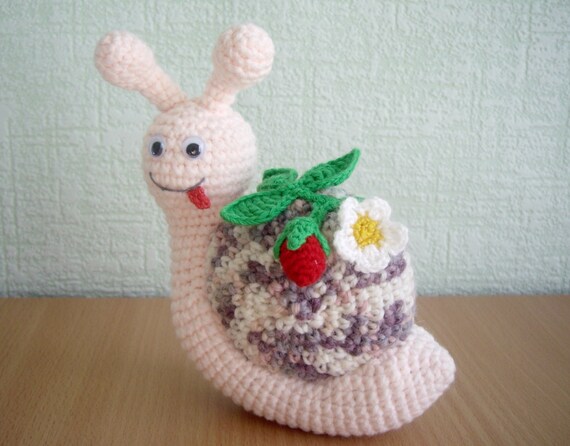
Crochet Toys- Amigurumi Snail

Yesterday and today I stayed inside in the dark, air-conditioned bliss of my lounge room doing some crochet. I made this little snail to be the mascot for my classroom this year. He hasn't got a name yet, feel free to add a suggestion. I love his (or her? ) kind of really creepy eyes hehehe.

I chose to make a snail because there is a saying I like that I want my class to remember all year:

 It doesn't matter how slow you go, as long as you don't stop.

I think it's a great saying to keep up motivation when you might feel like you aren't good at something or aren't getting anywhere with what you are trying to do. 

I got the pattern for the toy from an Etsy store:

kseniadesign


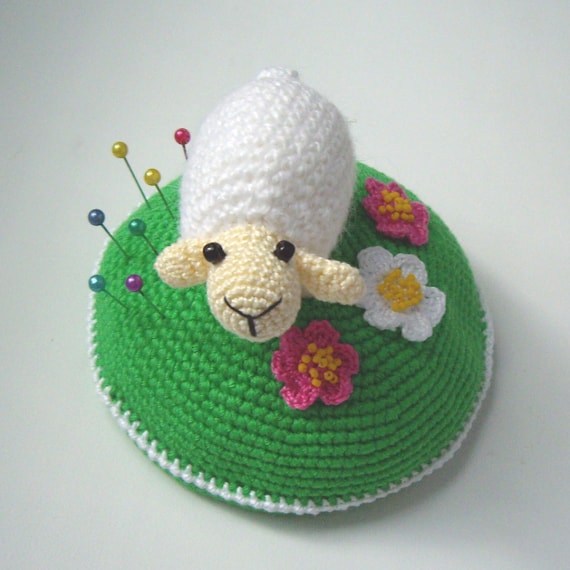
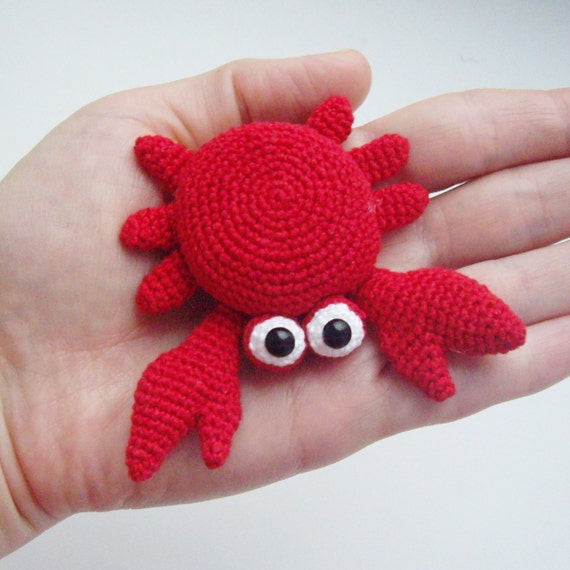
She has some other cute patterns and instant download which I always appreciate so I can get started right away! I'd rather like to make the crab and the lamb pin cushion. I found the pattern quite easy to follow and well set out. If you have never made a toy like this before you might need to try a few very in depth tutorials first to get the hang of the process, however she does include a file with extra tips for and explanations. 
        

Thursday, 9 January 2014

Fabric Lust

More web window shopping today... I'm being very lazy and trying to stay out of the sun because I got a very nasty burn down the front of both my legs when I was reading outside yesterday....

I know I'm not allowed to buy more fabric at this point. But there's no reason I can't look through all the sale fabrics at Hancock's and then arrange in rainbow order swatches.... so pretty! Seeing them all nicely arranged makes me want them even more, but like I said in the Window Shopping post, the postage takes a couple of weeks at best, so I can resist ordering knowing I won't get it right away or even soon.

Window Shopping

I have been wandering around Aliexpress this morning looking for cheap thrills. Initially I was looking for a new bag. I have a lovely mint green Mimco thing, but I used it for all of 2013 and I'm a bit sick of it really. I don't want to spend much on another bag right now, and I know Aliexpress always has bargain items where the risk of it being really bad is not to much because the price is so low. I found heaps of other items that I would like...as usual. I usually stay away from direct copies or fakes trying to pretend they are the actual item, but there are a couple I would like to try just to see if they are even half decent- like most of the things I've bought there previously.

I am putting off buying anything for a little while. I don't need any of it desperately and I know that shipping takes quite a while so I figure the longer I put it off, the longer I keep my money and the higher the chance I decide I can't be bothered or it's not worth it. 
What are your favourite place to shop for bargains online? Which colour do you like best for the bags ( I really can't choose and there are even more colours I like too!)?

Friday, 3 January 2014

Bunting Cushion

Yesterday I spent way more hours than was really needed making this bunting cushion to match some pillowcases I made last week.

First of all I spent a very long time looking for SVG (files that I can use with my scan'n'cut) files of birds. Then I found a picture file I liked and spent a very long time trying to convert it to SVG. When I finally managed to get it into a format that would work I spent a very long time trying to get it to cut from fabric without much luck. So then I decided to just try triangles to make bunting. This was mostly fine on the machine,  I just have to take the time to properly stick everything down to the mat and not put the shapes too close together. When you get it right, its amazing- simple, fast and essentially perfect.

So here are some instructions to make your own cushion cover!

You will need:

  • A cushion to cover.
  • A long rectangle of main fabric (as wide as your cushion + allowance for seems, I usually do 1/4 inch because I have a foot for it on my machine, it should be long enough to wrap all the way around your cushion and have about 10-20 cm overlap)
  • Decent sized scraps or off-cuts of other fabrics
  • Fusible interfacing (optional if not using a cutting machine)
  • scissors/cotton/sewing machine/over locker (if you have it)
  • Scan'n'cut or other cutting machine (again- if you have one)
Instructions:
  1. measure and cut you main cushion fabric. I was lazy and didn't pre-wash my fabric (or pre-iron) or use a ruler...I just eyeballed it. I don't recommend that as my cushion cover is less than perfect because the calico I used shank when ironed and I forgot to leave seam allowances on the sides!

  2. Fold and gently press your fabric so that you will be able to place your bunting pieces accurately on the front.
  3. Cut interfacing to a size slightly smaller than your scraps and iron on according to manufacturers instructions. Remove backing (this provides extra grip on the cutting mat). If you aren't using a cutting machine you don't have to use interfacing, but it will make the placement and sewing of your pieces easier. 


  4. Choose a slightly long triangle shape and set the machine to cut. This took quite a bit of practice for me, but I now have a much better idea of how much I need to spread out the shapes and how far from the edges they need to be. I cut out 17 all together, because then I couldn't be bothered doing any more. 
  5. Arrange your pieces on your cushion front and iron down (and freak out slightly when your fabric unexpectedly shrinks!).
  6. Using a fairly small zig-zag stitch, sew around your shapes. I went across the top in one long line first to make them look connected, but it also looks cute with them just 'floating'.
  7. Over-lock and/or hem the short edges so no raw seams will be visible. Fold the right sides together and over-lock or sew the side seams. 
  8. Turn out and feel chuffed at your handy work. 


I used the tutorial at A Spoonful of Sugar Designs to make these pillowcases. Really helpful instructions and a forgiving pattern that can easily be adjusted to fit any pillow to your liking.