Showing posts with label home. Show all posts

Sunday, 27 April 2014

Costco Shopping and Prices 27/4/14

So I have continued to shop at Costco even though I haven't been posting anything about it. I usually go now for smaller trips and park outside the building and just take my own shopping bags in. The experience is much easier and shorter when you don't have to get a car park or a trolley! But today I bought quite a few things, mostly things I don't think I have posted about before either, so I have done another price comparison between Costco, Aldi and Woolies. I get my Woolies prices online, so the savings in store wouldn't be as large I think. However you will see that on these products the difference is so large between Woolies and Costco that even the lower in store prices won't be better than Costco.  If you want more details or a review of any particular items please let me know with a comment, I'd be happy to let you know :)
Items I didn't mention in the table: Yum Cha at Home Steam Selection seafood dumplings (scallop, prawn and prawn+ginger) So much yum. This is $19.99 for 52 piecces. Frozen Blueberries 6.46 for 1kg, Ceasar Salad- The lettuce is ok, the bacon is ok....but the dressing is sooooooooooo good. This is a much better shopping treat than the jerky I usually by too, I think. In this picture you also can't see the skim milk box, that blue one is full cream. 

Pre-vacuuming
After Vacuuming- Enough to last a day or two fresh
and the rest sealed up to last until we need it. I
will need to keep track this time of how long it takes
us to use it up and how nice it stays.


So even though the spell check was on, I missed a couple of 'real' spelling errors. But I couldn't be bothered fixing it and getting a new screen shot. I am truly sorry for letting you down. But not really.

Monday, 27 January 2014

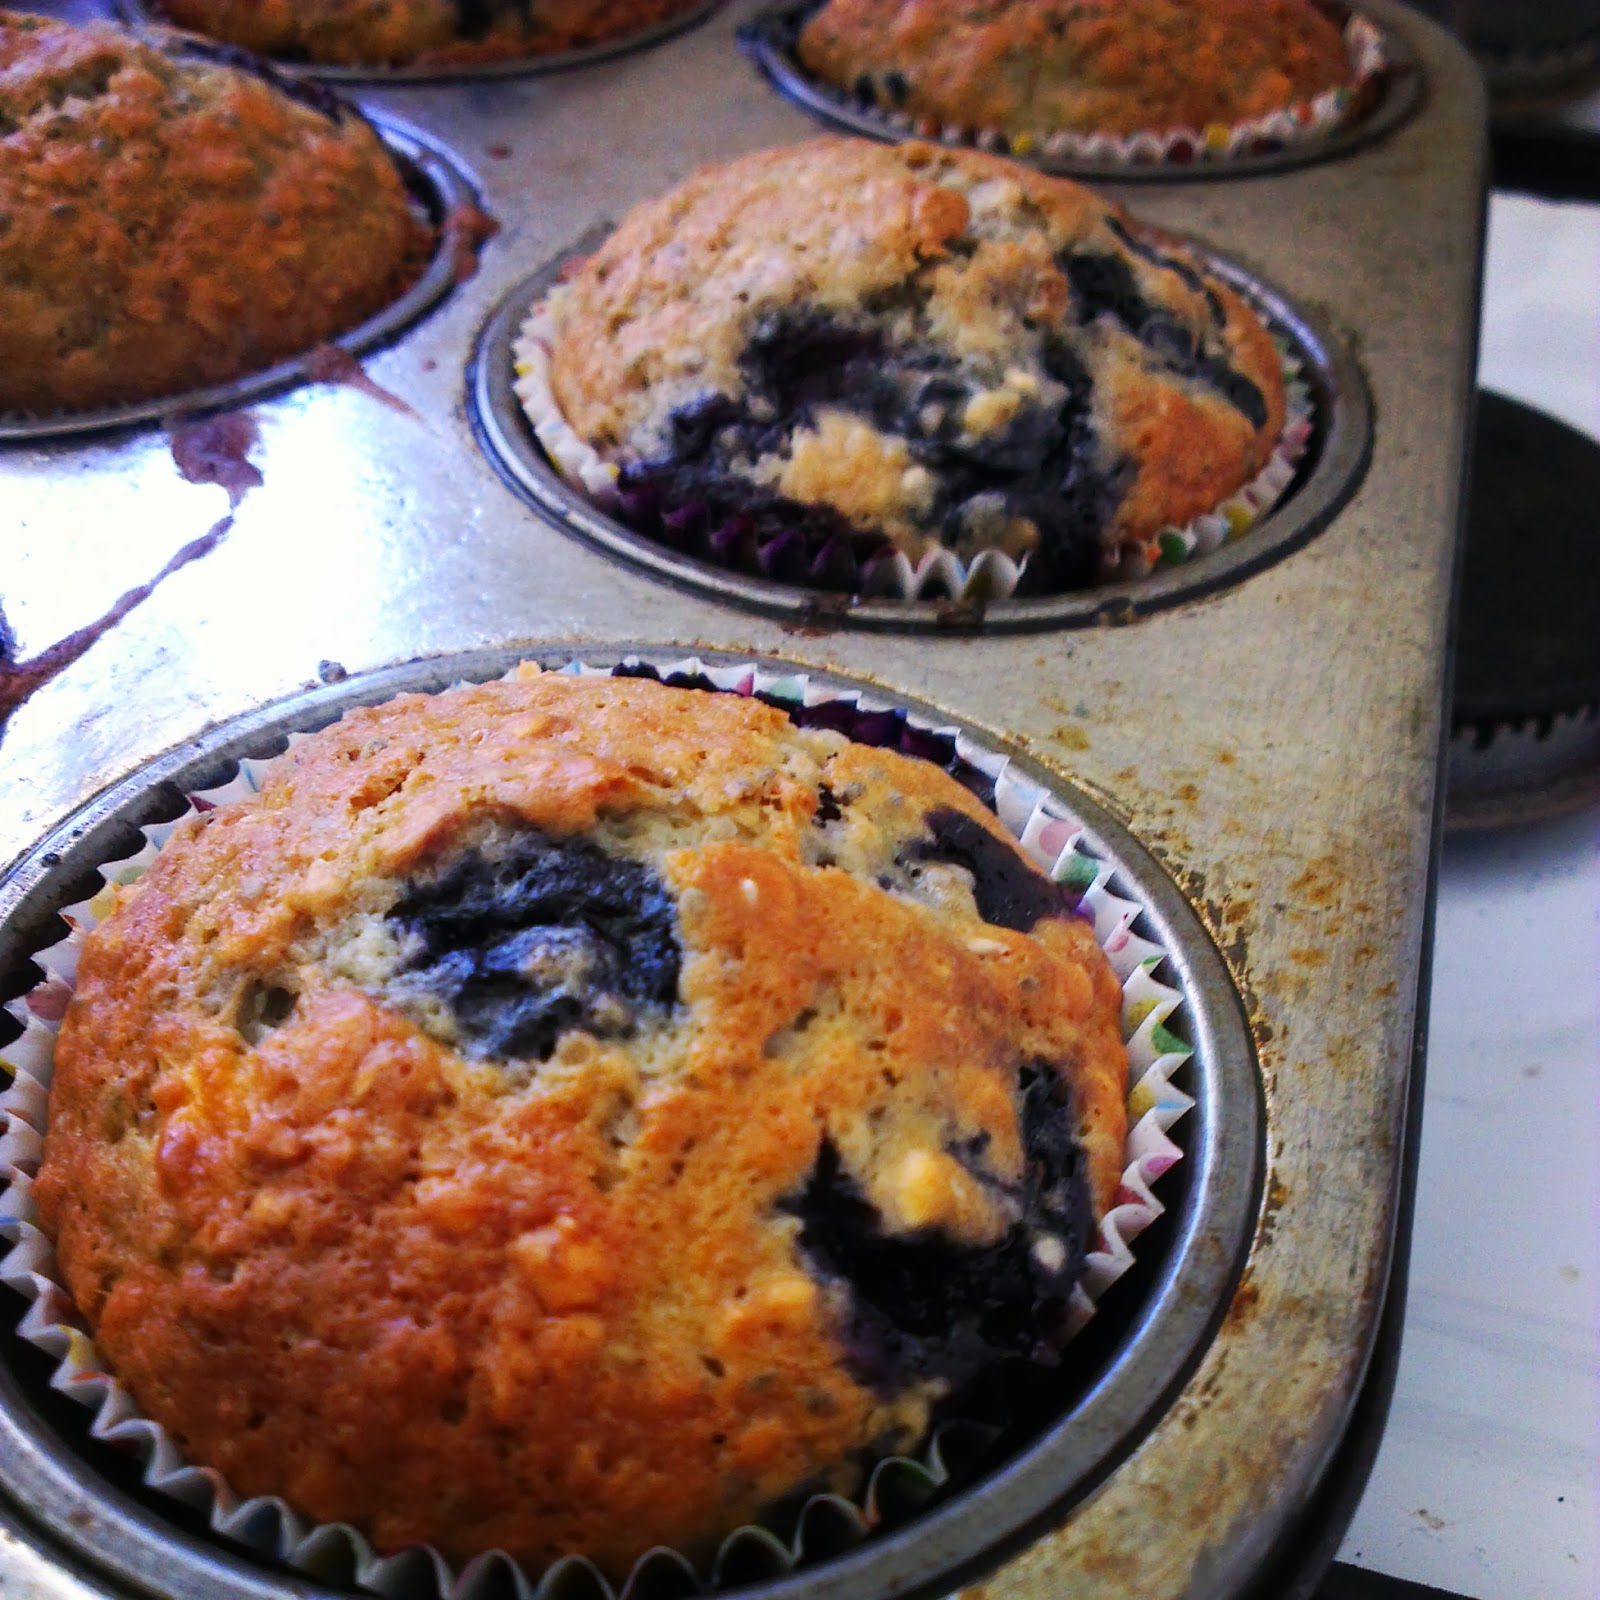
Banana,Blueberry, Oats + Chia Muffins

So earlier today I went to Costco. Two of the things I bought were a giant tub of cake mix and chia seeds. So this afternoon I made muffins using the cake mix and the chia seeds with banana, frozen blueberries (which I also get from Costco) and rolled oats.  They're very yummy and not too sweet (by my standards anyway) for a packet mix cake base.
Ingredients (makes 12):
spray oil
340g  all purpose cake mix
3 tbsp oil
1 cup blueberries
1/3-2/3 cup of milk (start mixing with less and add more if you think it needs it)
2 small-medium bananas mashed
2 scoops chia seeds (around 1/4 I think)
2 eggs

1. Pre-heat oven to 180, spray and line a muffin tray.
2.Measure out the cake mix or your dry ingredients into a mixing bowl, mix through blueberries and create a well in the center.
3. Mix the oil, milk, banana and eggs in a separate bowl- this is to reduce mixing with the dry ingredients as over mixing is bad for muffins).
4. Add the wet ingredients to the well and mix until just combined.
5. Spoon into tin and bake for 20-25 mins (mine were in for around 25, but I think they would have been fine with a little less)
6. When cooked through and a skewer or knife comes out clean, remove from oven and when cool enough, place on a wire rack to cool.

These muffins are so yummy fresh. The banana and blueberries mean it is moist, the cake mix kept things nice and fluffy and the chia seeds add some extra crunch. I will freeze these individually for work, hopefully they defrost well wrapped up over the morning, if not, they will be tasty defrosted in the microwave and eaten hot!

Monday, 13 January 2014

Costco Shopping and prices 13/01/14

So I went out grocery shopping today, so excite. Went into the new fresh food market near my house which seems pretty good value and great if I want good prices but don't want to go into my usual shopping center. I also had a little look at the wholesale butcher in there. Not bad either. I wanted mostly to be able to compare prices at Costco and, without actually writing things down to properly compare exact items, Costco seems pretty on par price wise with slightly better items on offer.

Here is what I brought home from Costco, minus the bottles of water I picked up for a friend's wedding on Friday.

I am most excited for the fish cakes and prawn dumplings which they had out for tasting yum yum!
Here are my price comparisons, I compared to Safeway, Aldi, or Officeworks, with Aldi being the first place to look for a similar item, as I would normally buy most things there: 

                                Costco           Regular Shops     Difference
Sharpie Highlighters    11.99            29.16        17.17
Prawn Hargow           13.79       22.80            9.01           
Raspberries 1kg:         6.49              8.98                    2.49
eggs 18 pk            5.29       5.50-6.00             Even 
Rotisserie Chicken       7.99 ~$10         $2
Ravioli *   11.59           $8 -$3.59 
(*compared to Aldi's version of the Latina Fresh type pastas, I do think the Costco ones are a bit fancier and use free range eggs as well. Not sure if it is a completely fair comparison.)

The other items I bought and couldn't find a good comparison:

Gel pen 50 pack $14.99, I need a better idea of the quality before I can make a fair comparison, but they seem pretty good and dry  nice and fast. 

Gas lighters 4 pack $5.89, this is a great deal! They work well and two of them hav bendy ends. Similar looking lighters cost almost $10 each at Safeway, although I'm sure you can get them cheaper elsewhere. Still, a great deal on something I really needed. 

Nu-Pure 600ml x 24 Bottles $6.49, I didn't do a comparison because I don't know how different brands of water compare. However a 24 pack of Woolworths brand water is $8, so it is still cheaper than regular prices. 

Thai Fish Cakes  40 pieces $9.89, I got these because they're very low in calories so will be great to have on fasting days with some salad or rice. It seems like a good price, but I couldn't find a similar product online. 

Smooze Fruit Ice 35 pieces $14.69, Getting ready for the heat wave! I tasted these the last time I went and liked them. They seem slightly better nutritionally than Zooper Doopers and are a good size. These are also 60-100 calories each so might make a good fast day treat!

French Twists $7.79, These are so yummy and claim only 30 calories each. Sweet and crunchy and cinnamon-y, excellent treat with a coffee or tea. 

Bagels 12 pack $9.99, Always get bagels 1 plain, 1 sesame seed. Love them!

I wrapped up the bagels and separated the pasta into little serving size bags. On a normal night we could have one each (although that still seems like a LARGE serving to me!) for around $2 per serve, or on a fast day we would have half each for less than $1 per serve. Excellent value, even if it is a bit more than Aldi brand! 


Hopefully these prices can  help you if you aren't sure if membership is worth it for you, or if you just want to see some of the products that are available! I will probably do another shop before I go back to work at the end of the month to stock up on some mince and snacks to freeze. 


Friday, 10 January 2014

Easiyo Yogurt- Home Made Yoghurt


Today I had a lovely trip down the Smith's Beach at Philip Island. It was busy, but not TOO busy. It was actually a nice amount of people to watch surfing and snorkeling etc, without everyone being on top of each other. If I was a better blogger I would have taken photos. But I didn't...oops. This might have been somewhat related to the downside of my day which was the large filling I had to get in the morning. The dentist was great and it didn't hurt at the time but has been very uncomfortable all day since the anesthetic wore off.  So dinner today will be some home made yogurt, jam and berries so that there is minimal chewing involved.

I thought I would share my recipe with you while I'm at it. I got this from another blog some time ago and I can't seem to find the same one any more. THIS blog looks like it has a similar recipe however and a few variations such as coconut milk which might be very tasty to try out. My recipe varies only slightly in that I will use a couple tablespoons of sachet mix (eg. Easiyo mix or similar) to get the culture in there.

Home-Made Yogurt
just under 1L milk (I use long life)
100g milk powder
2 Tablespoons yogurt mix.

  1. Whisk your powders with about 1/4 - 1/2 the milk until it is dissolved. 
  2. Add the rest of the milk and whisk again.
  3. Boil water and fill your Easiyo thermos to the fill line.


  4. Put the lids on and wait 8 hours or so until your desired taste and consistency is achieved. Move to chill in the refrigerator. 
  5. Eat with yummy toppings!
The current batch I have isn't my best. I didn't measure out my milk powder and used too much I think as I used half a sachet of vanilla yogurt to get the nice flavour...that is also quite old powder that has been sitting open in the fridge for some time. Also I left it for longer than normal. So many reasons for the strange texture I got, kind of gooey like honey but thicker. It taste really nice those, just a nice mild not too sweet vanilla. Of course once you add all the jam and fruit like me the 'lower sugar' reasoning is redundant. 

If you have never tried making yogurt before I highly recommend the Easiyo maker. It's easy and cheap and so much nicer than store bought!

Sunday, 5 January 2014

Simple Hanging Planter Box DIY

Today I was perusing Pinterest and I came across this photo (originally it came from this blog):
I thought this looked pretty easy to make and pretty to look at! A great way to grow small leafy things like herbs or flowers, and hopefully some of the bugs can be kept away.
We also have the luck/misfortune of having a garden tent with no roof just laying around. So I claimed it for my plants and headed off to Bunnings with the BF to gather supplies.
We already have tools/scraps of wood/screws/zip-ties. hanging around so we just bough a 1 meter section of 100mm PVC pipe and 10m of chain so it only cost us $30. Then I went and did my other planting, sometimes taking photos, while the rest happened....


To make your own hanging garden you will need:
PVC pipe
Chains of some variety (we used 4 lengths of 2.5m which was a fair bit longer than we needed)
Zip ties
Jig-Saw cutter
Screw Driver
Screws
Wood scraps to make ends- or you can buy the ends that go with the pipe you get and cut them in half.
Tent pegs/weights


  1. Cut the pipe in half longways and then across so that you have something like in the picture.
  2. Trace the inside of each end and cut out to create the ends and stop everything falling out.
  3. Attach the end pieces with screws.


  4. Decide where you are going to hang your planters and zip-tie the top of the chains in place. This doesn't seem to need to be perfectly even on all sides as you can adjust it, but it would be a good idea to measure out the placement if you aren't hanging on something that gives you guidance like the tent frame did for us, just to keep things hanging down fairly straight.
  5. Hold up your piping and mark where you need to drill holes and you are ready to hang.  While you are there, drill some holes in the bottoms of the pipes to allow for drainage.
  6. Use zip-ties to connect each of the 4 holes to the chain, making sure to keep them nice and flat. To space them evenly count the links between the first two and then continue that pattern. 
  7. Finally use a tent peg or a weight of some kind to keep the ends on the ground and stop everything flinging around in the wind. 
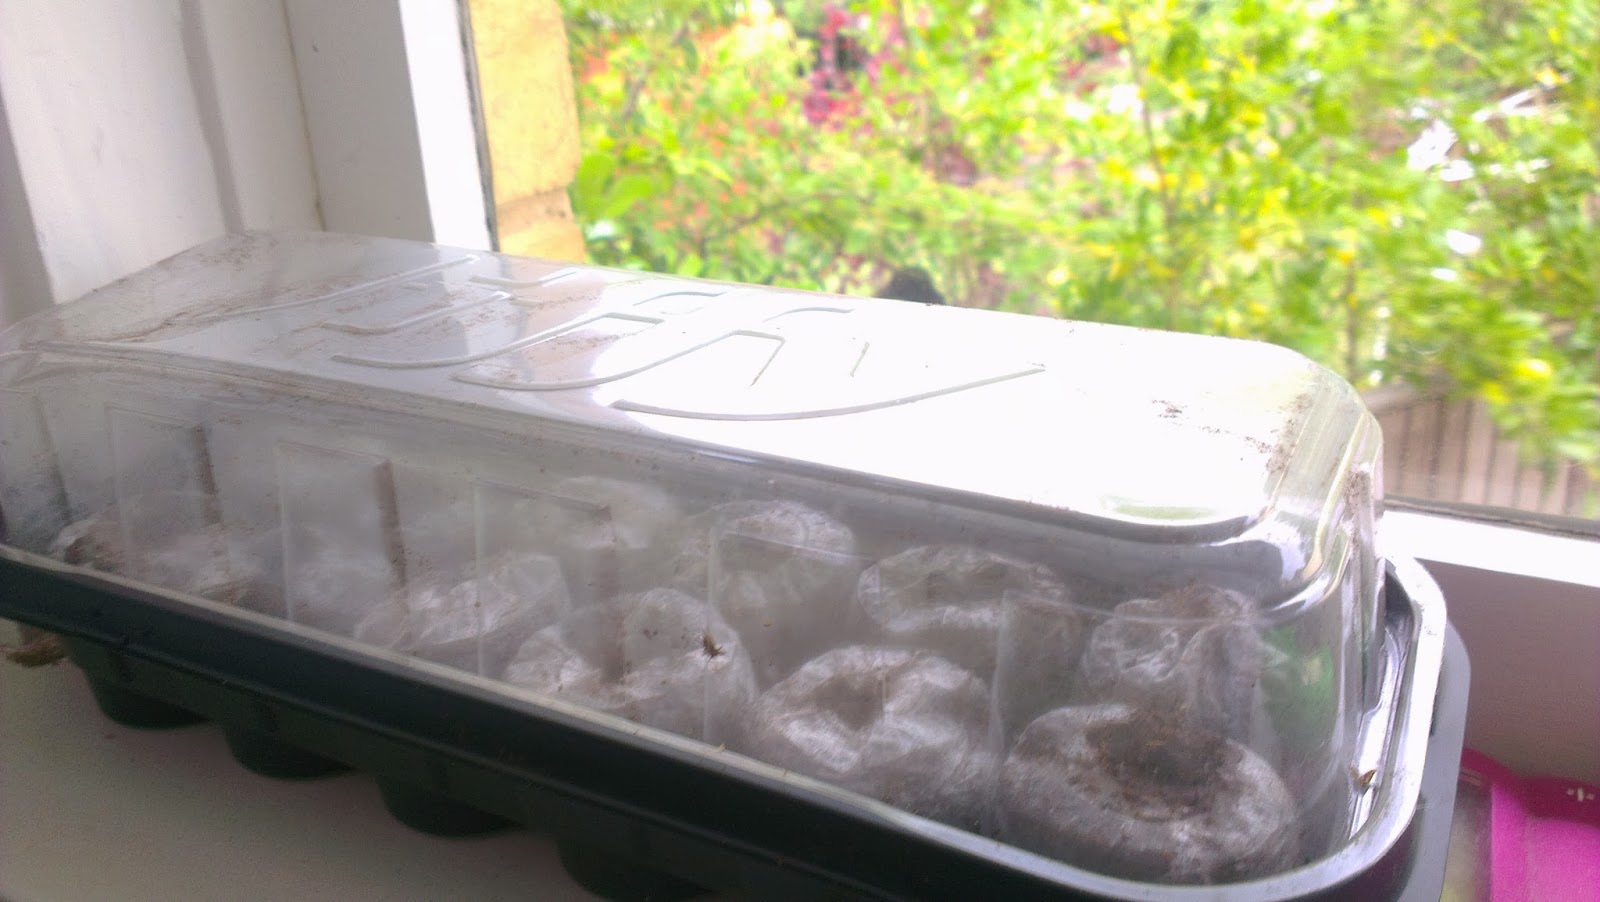
And that's all their is to it! Not that I actually did the making...but it seemed easy enough and didn't take long at all. I haven't put anything in it yet as I bought some seeds for lettuce, basil (I really hope it will be protected from snails and whatever keeps eating it every time I grow it by being up high), parsley and thyme to sprout and then have in there to grow. I will post photos in a few weeks when I have something in them. I might spray paint them as well, but I'm not sure what colour yet.


I also bought some climbing beans and pumpkin seedlings as I believe its a bit too late now to grow from seed. I used the middle part of an old bed frame where the slats used to sit for the pumpkin vine to grow up and an old fly screen for the beans. I've never tried either before but hopefully it works!

I'm really excited with my new little garden patch, being in a rental we can't dig up a veggie patch or anything like that so this is giving me some more options and it is completely removable. Please let me know if you can think of what else to add! It will also be a lovely place to sit for the rest of the summer as it gets great shade in the afternoon- great spot to sit and read and sip something tasty after a not-so-hard day of holidays!

Friday, 3 January 2014

Bunting Cushion

Yesterday I spent way more hours than was really needed making this bunting cushion to match some pillowcases I made last week.

First of all I spent a very long time looking for SVG (files that I can use with my scan'n'cut) files of birds. Then I found a picture file I liked and spent a very long time trying to convert it to SVG. When I finally managed to get it into a format that would work I spent a very long time trying to get it to cut from fabric without much luck. So then I decided to just try triangles to make bunting. This was mostly fine on the machine,  I just have to take the time to properly stick everything down to the mat and not put the shapes too close together. When you get it right, its amazing- simple, fast and essentially perfect.

So here are some instructions to make your own cushion cover!

You will need:

  • A cushion to cover.
  • A long rectangle of main fabric (as wide as your cushion + allowance for seems, I usually do 1/4 inch because I have a foot for it on my machine, it should be long enough to wrap all the way around your cushion and have about 10-20 cm overlap)
  • Decent sized scraps or off-cuts of other fabrics
  • Fusible interfacing (optional if not using a cutting machine)
  • scissors/cotton/sewing machine/over locker (if you have it)
  • Scan'n'cut or other cutting machine (again- if you have one)
Instructions:
  1. measure and cut you main cushion fabric. I was lazy and didn't pre-wash my fabric (or pre-iron) or use a ruler...I just eyeballed it. I don't recommend that as my cushion cover is less than perfect because the calico I used shank when ironed and I forgot to leave seam allowances on the sides!

  2. Fold and gently press your fabric so that you will be able to place your bunting pieces accurately on the front.
  3. Cut interfacing to a size slightly smaller than your scraps and iron on according to manufacturers instructions. Remove backing (this provides extra grip on the cutting mat). If you aren't using a cutting machine you don't have to use interfacing, but it will make the placement and sewing of your pieces easier. 


  4. Choose a slightly long triangle shape and set the machine to cut. This took quite a bit of practice for me, but I now have a much better idea of how much I need to spread out the shapes and how far from the edges they need to be. I cut out 17 all together, because then I couldn't be bothered doing any more. 
  5. Arrange your pieces on your cushion front and iron down (and freak out slightly when your fabric unexpectedly shrinks!).
  6. Using a fairly small zig-zag stitch, sew around your shapes. I went across the top in one long line first to make them look connected, but it also looks cute with them just 'floating'.
  7. Over-lock and/or hem the short edges so no raw seams will be visible. Fold the right sides together and over-lock or sew the side seams. 
  8. Turn out and feel chuffed at your handy work. 


I used the tutorial at A Spoonful of Sugar Designs to make these pillowcases. Really helpful instructions and a forgiving pattern that can easily be adjusted to fit any pillow to your liking.