Monday 27 January 2014

Banana,Blueberry, Oats + Chia Muffins

So earlier today I went to Costco. Two of the things I bought were a giant tub of cake mix and chia seeds. So this afternoon I made muffins using the cake mix and the chia seeds with banana, frozen blueberries (which I also get from Costco) and rolled oats.  They're very yummy and not too sweet (by my standards anyway) for a packet mix cake base.
Ingredients (makes 12):
spray oil
340g  all purpose cake mix
3 tbsp oil
1 cup blueberries
1/3-2/3 cup of milk (start mixing with less and add more if you think it needs it)
2 small-medium bananas mashed
2 scoops chia seeds (around 1/4 I think)
2 eggs

1. Pre-heat oven to 180, spray and line a muffin tray.
2.Measure out the cake mix or your dry ingredients into a mixing bowl, mix through blueberries and create a well in the center.
3. Mix the oil, milk, banana and eggs in a separate bowl- this is to reduce mixing with the dry ingredients as over mixing is bad for muffins).
4. Add the wet ingredients to the well and mix until just combined.
5. Spoon into tin and bake for 20-25 mins (mine were in for around 25, but I think they would have been fine with a little less)
6. When cooked through and a skewer or knife comes out clean, remove from oven and when cool enough, place on a wire rack to cool.

These muffins are so yummy fresh. The banana and blueberries mean it is moist, the cake mix kept things nice and fluffy and the chia seeds add some extra crunch. I will freeze these individually for work, hopefully they defrost well wrapped up over the morning, if not, they will be tasty defrosted in the microwave and eaten hot!

Costco Shopping and Prices 27/01/14


Back to Costco today. It was really busy, almost as busy as it was just before Christmas, but it took about 10 min to get a car park and we were then in and out fairly quickly. This time I got lots of things from the specials, you can view them on the Costco website here .
Just a small bunch of things this time, although the cost still gets high easily with these things!
Overall I'm pleased with my items. The toothpaste and brushes were the let down for me, but that's what I get for not checking. I have been happy with the Aldi toothpaste, however I didn't love the toothbrushes, so that is a good saving. I will see if I notice any difference with the Colgate toothpaste. If you are loyal to your brand for toothpaste the saving is very good.

The facial wipes are significantly more expensive than the Aldi brand ones, but much cheaper than brand name ones from Woolies, so I will have to use them and see how good they are. That said, it comes in a convenient package and has some smaller travel packs in it which will be handy.

Everything else was very good value and I'm pleased with my purchases. The cake mix will be so handy, being in the tub makes it easy to use and make whatever quantity I like. I will be making some Banana/Blueberry+Oat+Chia breakfast muffins later today hopefully, so we will see how they turn out.

Thursday 23 January 2014

Cupcake Pencil Toppers with Downloads!

I've organised myself enough that this will be the first year I actually properly acknowledge the kids birthdays. I have always had the class sing the song etc, but I have never had anything to give them in the way of a card or special stickers like some teachers have.
I saw these pencil toppers on Pinterest, however the link didn't go anywhere which was a bit annoying.
I used the Scan n Cut online software to make the templates for the top and bottom of the cupcake with the cut lines out of the basic shapes available layered on top of each other, so I didn't need to print anything or trace anything, just put the paper in the machine and let it do its magic! This cost me around $30-$35, but that is the cost of all the paper packs (closing down sale) and the pencils. I partially used 2 or 3 sheets from each pack, so the actual cost is much lower on a 'per pencil' basis.

To make these you will need:
-Scrapbook paper in a variety of colours/patterns/textures. My template fits 9 of the bases onto a mini square sheet and 6 of the large icing parts.
      Base Cut file for Scan'n'Cut
      Icing cut file for Scan'n'Cut
      Base image to print
      Icing image to print
-White card stock for the small inner icing parts
-Cute pencils or pens to put them on.
-Scan'n'cut machine (or you can print and trace to cut them out yourself)

1. Choose your papers!
2. Load the base and icing cut files onto a USB to use in your machine, or print and cut using the picture template. The image file hopefully can be used with other cutting machine software.


3. Arrange the shapes according to how many you want to cut on each paper. I always stick down the papers as I find the mat is just not always quite sticky enough, even then sometimes after the outline is cut a piece will still move and not cut quite right. It's a bit of trial and error with different papers.

4.Cut out you large icing backs using the regular size cut file. For the white smaller part, I reduced the size of one a couple of time until I was happy with it (about 10mm in the width option with the height/width ratio locked), again it is a bit trial and error here depending on how much writing space you want and how much colour from the back ground you want.


5. This is where the machine really earns its keep. Increase the number of icing clouds to meet your needs or fill up your paper. I cut 24 in one go and still had room for more!


6. Assembling these is quite easy. Choose a base and icing background to go with the white. Glue the white to the front and when dry enough, write your message. Give the top and bottom pieces a bit of a bend to put them into shape.


7.Stick the base to the top with enough over-lap to cover the top slot. Cut off any excess tape.


8.Put your pen or pencil in through the top and you are ready with a cute gift, and if you already have a scrap-booking stash or even used some recycled goods, all it cost you were the pencils!


Mirenesse Free* Trial Products

Went to go to the shops today and noticed my letter box was full, and inside I found a fairly over-sized black envelope waiting for me. It has my "free" products that I ordered from Mirenesse earlier in the week inside (VERY fast postage!).


With the offer you just pay postage or each individual item that you order, and you can order up to six products. My shipping was just under $25 and I got three products. Inside the package were my items, some instruction sheets and a bunch of coupons that I won't use...but if you really liked something and wanted to repurchase would be handy!

The items I got were:
-Skin Clone  Mineral Powder Foundation (mini size) in Vanilla rrp $19.95
It came in a little leatherish pouch and is in a nice sturdy plastic container with a separate sponge. It would be better if the sponge had a home in the container, but I guess that's why it has the pouch. I think this will be good to keep in my handbag for touch ups as I use a loose powder in the morning, that just isn't practical to carry around or apply on the go.
-Mirenesse Laboratories Fast Fix Solutions Foot Renew Cryotherapy rrp $29.95
I was hoping this would be like the Milky-Foot type things that make all your skin peel off, but its just a treatment. I am still really excited to try this and will save it for a day after school I think!
-Icon Sealer 24 Hour Concealer rrp $35
I did a quick swatch, in the picture you can see it comes out fairly yellow, but blends well. I assume this would be good for dark circles with the yellow tint, but it seems like it would be helpful on other blemishes as well because it is a good match for my skin when blended out.
Left- Unblended Right- Blended
The offer is still going and there are lots of products still on offer, including all three of the ones above. At about $8 per product and the shipping being SO fast I think it is a great way to try some good products for a cheaper price. 
You can get the offer here: http://www.mirenesse.com/85-free-trial
Did you order anything? What did you think of the products you got?


Wednesday 22 January 2014

Back to School Clothes and Stationary HAUL

So, what's more fun than actually doing the preparation I need to for the new school year? Shopping for it of course!
After some light shopping yesterday afternoon, I initially went out to my favourite shop outside Kmart, but for pretty much the first time ever, couldn't find anything I wanted to spend my gift voucher on. So I wanted into Kmart to look for school supplies and ended up getting heaps of cheap tops and basics.
After that I went to Target, another random cheapo kind of shop and a Kaisercraft shop.
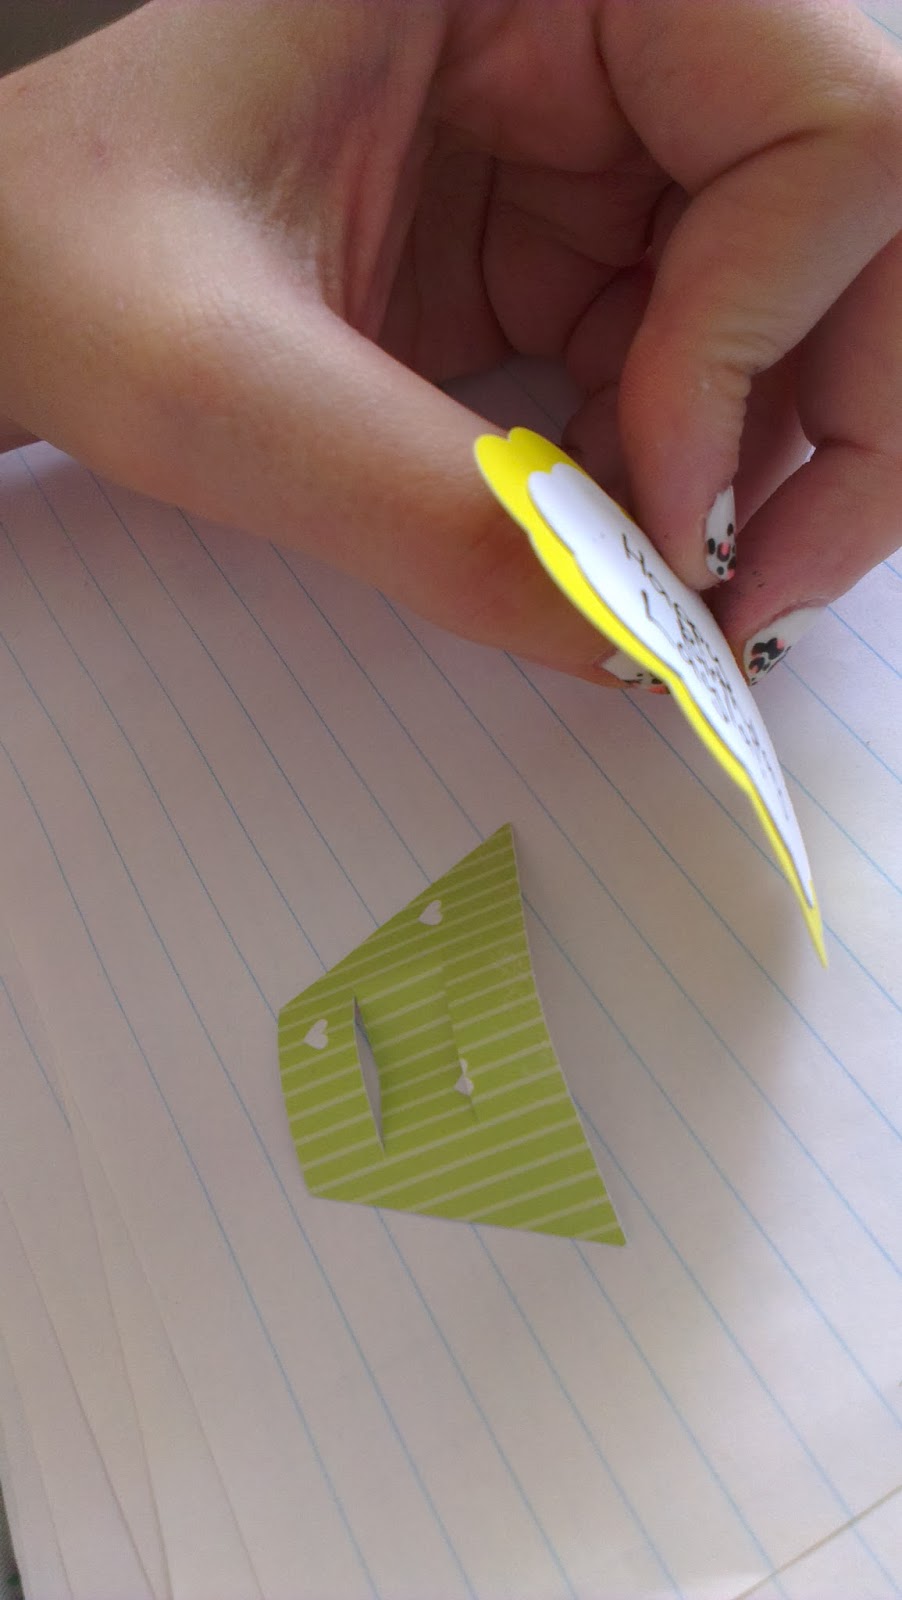
Finally this evening I went to Officeworks, and aside from heading back to Kaisercraft tomorrow to get cute papers to make these (below) pencil toppers, I have no excuses to not start addressing what actually needs doing.

Clothes:
Yellow, longish, hi-lowish, lace embellished tank- Kmart- $12
Peach/apricot, longish, hi-lowish, lace embellished tank- Kmart- $12
Owl print, flowy tank with buttons- Kmart- $12
Floral print, flowy tank with buttons-Kmart-$12
Leopard Print round neck jumper-Kmart-$20
Purple/green layered work out top- Kmart-$12
Black/purple layered work out top- Kmart- $12
Basic singlets with shelf mint and turquoise, no shelf black- Kmart- $3 each
Basic tank top dusty coral and dusty magenta (not as bright as they show up here) $2 each
Floral embellished strap tank-Temt- $19.95
Basic tank tops black, nude-Temt- 6.95 These feel like a much more expensive material, its a synthetic blend and is like a slightly suedey microfiber 
Basic Singlet, nude-Temt 4.95 Same fabric as the tanks.


Navy/Cream Damask harem (ish?) pant- Caroline Morgan- $20
Navy stretch skinny pant with zip detail-  Target- $15

Stationary (and random make up)

Five drawer storage tub, blue- Officeworks- 16.96
3 pack binder display books- Officeworks- $2.99
Pick'n'mix bulldog clips and magets- Officeworks- $4.99
Purple wire mesh tray and bin- Officeworks- $5 each
White 2D ring binder- Officeworks- $3.83
Tropical bird print binder- Kmart- $2
Geoprint pastel wrapping paper- Kaisercraft- $1
My Day Chart calendar- Kikkik- $5
Monthly planner (to use as weekly timetable) Kikkik- $10
Lexar USB drive 8GB- Big W- $4.95
Maybelline Dream Pure BB cream, medium- Big W- $15.75
Maybelline Age Rewind under eye concealer-Big W- $~16 Annoyed at myself for these two, I realised this morning that I should have gone to Priceline and got 3 for 2. They are both good products though, so I'm not too bothered. 

All in all I think I got really good buys for pretty much everything and should get good use/wear out of it all, pretty pleased, but not excited at the prospect of putting it away and clearing out some old stuff that is getting replaced. But that's a problem for future Emily. 

Monday 20 January 2014

Sushi with the Sushezi


A favourite meal for us is our home made sushi. I have a kitchen contraption specifically for the job called the Sushezi, it basically allows you to get the placement of ingredients right and squash everything together a lot more easily than you would be able to by hand. You can really put whatever ingredients in it you want, this is just what we do. It kind of developed over time and now we always just have the same fillings because we luff it.

Ingredients:
Sushi Rice (any short grain works)
Sushi seasoning
Kewpie Mayo
Cucumber
Packet cheddar cheese or cheese sticks
Avocado
Seafood sticks
Nori Sheets
Spray oil

1. Wash and cook the rice according to instructions. I like to use my microwave rice cooker for this job. After cooking add a good amount (I think the original recipe I used had about 1/4 cup listed, but now I just add and taste) of the seasoning to the rice and refrigerate while you get the other ingredients ready, so it is not too hot to handle.


2.Slice up everything into strips.

3.Open up the Sushezi, spray lightly and press rice into both sides. Use the stick part (technical term) to press a dent into each side to put the fillings in.


4. Add your fillings, snap the Sushezi shut and use the stick to press everything together.


5. Press out the rice roll onto your Nori sheet. Roll it up adding water as needed to soften the seaweed and stick it together around the roll.


6. Wrap tightly in cling wrap and refrigerate until cold.

7. Unwrap, slice, serve!

We also made some 'free form' sushi piles with the left overs that we ate while waiting for the rolls to cool down.