Showing posts with label school. Show all posts

Wednesday, 5 February 2014

Chia Puddings

Chia seeds are something I don't know much about, but having bought some at Costco I have a lot of them to experiment with. Previously I have made some Banana, Blueberry, Chia and Oat muffins which were really nice and great to freeze  Today I made a batch of puddings in different flavours. Before now I made a chocolate chia pudding with a recipe from Food Wishes, and then I made a vanilla one with almond milk and vanilla bean paste with a small amount of sugar added.

Looking at many online recipes I think the basic mix for a pudding is 1/4 cup Chia: 1 cup liquid. 
Today I used almond milk for all my puddings and made Chai, Banana, Chocolate, Mango, Cherry+Raspberry and vanilla. I made them in little yoghurt pots that came with my Aldi yoghurt maker, so they will be great to take to school. Chia is very healthy with lots of protein, omgea 3+6 and fiber. Almond milk a little watery to drink for my taste, but not bad at all and with only 40 calories per cup its s great option instead of regular cows milk if you would rather use your calories on other things. 

1. Pour one scoop full of Chia seeds (1/8 cup) into each jar or container.

2. Add other flavorings:
Chai: 1/2 a Chai Latte pod (or some Chai powder)
Banana: 1.5-2 Tbsp banana milkshake syrup
Chocolate: 1 heaped teaspoon cocoa powder, 1-1.5 tsp sugar
Mango: a few cubes of chopped up mango, 1 level tsp sugar
Cherry+Raspberry: 3 tsp Cherryberry Jam (recipe here)
Vanilla: 1/4 tsp vanilla paste, 1 tsp sugar
3. Pour in 1/2 cup almond milk or as much as you can fit. If you can't fit enough liquid in your pudding will be crunchier, so you might need to play around with how much of different fillings can go in.
4. Put the lids on and shake up the jars. Open and stir if any seeds have stuck in bunches to the sides. Leave the jars for a few minutes and shake again. Then leave in the fridge for 3 hours or overnight.

 I haven't tasted them all yet, but I know that chocolate and vanilla are both yummy. Out of the others the only two I think some people might not like would be the chai and banana, but given they are both normally milky drinks I like, I think they will be good. Anything fruity and sweet I always like, so I know the mango and cherry+raspberry with be good. 

Sunday, 2 February 2014

Teacher Stuff 1

This is kind of a collective haul of teacher related things that I am enjoying at the moment.

1. Idoceo iPad app ($7-$8)
This app is great, and I've barely scratched the surface. Its essentially a digital grade book. It allows you to enter and track personal, assessment and general data for students in multiple classes. I have set it up for myself to track assessments that I put in, as well as having a section for general comments such as behaviour issues as well as permission notes and checklists. Just doing those things I have removed the need for multiple class lists that I need to keep track of for all these things. I am very excited to be able to better monitor issues or improvements in behaviour easily as I have yet to find a system that works, however it is very fast and easy to add an entry to this app without needing to sit down at a computer and open files or write in by hand somewhere else. I also really appreciate the 'hide' function for these notes, so that I can have the tab open and see easily where I have notes for each student (at the moment I am using date columns, but might change to weekly if there aren't too many things to be recording) with a small triangle in the box next to their name, without it being there for every other student or parent to see if I am looking through my lists.
There are so many great uses, but another I am excited for is the email function. It means I can very easily photograph or record student's and their work and on the spot send an email from the app to their parents. I think it will be a great reward for students, to send a picture of the maths sum they found really tricky but finally figured out, or the awesome model they created straight to their parents at the time they did it. Other times such as at sports days, performance rehearsals or on camp we will also be able to share the fun with parents easily and improve positive communication.
I could go on and on with my plans for this app, but for now I highly recommend you get it if you have an iPad. I am currently using a school iPad, but will be purchasing my own later in the year if the school in unable to purchase more for teachers.
Available from the app store 
Below is a first impressions review from another teacher that shows some of the great features of this app.


2.Dropbox
I'm sure lots of you are familiar with Dropbox or similar 'cloud' storage apps and programs. Basically it synchs up folders on your phone/tablet/computer or any other device that you connect to your account so that photos and videos are available without manually transferring them.  What I am loving is that I have been able to connect the iPad I use at school to a network folder. This means that when I or the students take photos on the iPad it is available within a few minute on any computer in the school.
Now I can allow students to include more photos in their work with a lot less planning. No longer do they need to wait for someone who has taken photos to transfer them using a cord, they are transferring automatically while the next student is using it. It also means I do not need to take photos on my phone or camera and find time to transfer them for students to use.
Aside from easy and time efficient access to files, students are also aware that if they are filming or taking photos without direct supervision, we will see the files when they upload, so they will be less tempted to do anything they wouldn't want us to see. If you have any mobile device that is just for school use, I highly recommend you talk to your techie about setting up a network folder for Dropbox (or maybe you are smarter than me an can do it yourself!).
Dropbox- sign up here

3. Class Reading Challenge
I did essentially the same thing as this last year an it was a flop, but I'm going to try again this year and see if I can get it going a bit better. The aim is to fill the jar with the foam noodles but putting one in for every book finished by a student. I am thinking we will aim to fill it at least once per term or more, just going by sight. Last year I had them making little paper stars but they found it hard to make them and often forgot to do so. I will negotiate with the class what kind of reward we will have for filling the jar. Great for all ages of primary school, and very motivating for some students, it just takes a bit of training and promoting to make sure students remember and get involved.

Thursday, 23 January 2014

Cupcake Pencil Toppers with Downloads!

I've organised myself enough that this will be the first year I actually properly acknowledge the kids birthdays. I have always had the class sing the song etc, but I have never had anything to give them in the way of a card or special stickers like some teachers have.
I saw these pencil toppers on Pinterest, however the link didn't go anywhere which was a bit annoying.
I used the Scan n Cut online software to make the templates for the top and bottom of the cupcake with the cut lines out of the basic shapes available layered on top of each other, so I didn't need to print anything or trace anything, just put the paper in the machine and let it do its magic! This cost me around $30-$35, but that is the cost of all the paper packs (closing down sale) and the pencils. I partially used 2 or 3 sheets from each pack, so the actual cost is much lower on a 'per pencil' basis.

To make these you will need:
-Scrapbook paper in a variety of colours/patterns/textures. My template fits 9 of the bases onto a mini square sheet and 6 of the large icing parts.
      Base Cut file for Scan'n'Cut
      Icing cut file for Scan'n'Cut
      Base image to print
      Icing image to print
-White card stock for the small inner icing parts
-Cute pencils or pens to put them on.
-Scan'n'cut machine (or you can print and trace to cut them out yourself)

1. Choose your papers!
2. Load the base and icing cut files onto a USB to use in your machine, or print and cut using the picture template. The image file hopefully can be used with other cutting machine software.


3. Arrange the shapes according to how many you want to cut on each paper. I always stick down the papers as I find the mat is just not always quite sticky enough, even then sometimes after the outline is cut a piece will still move and not cut quite right. It's a bit of trial and error with different papers.

4.Cut out you large icing backs using the regular size cut file. For the white smaller part, I reduced the size of one a couple of time until I was happy with it (about 10mm in the width option with the height/width ratio locked), again it is a bit trial and error here depending on how much writing space you want and how much colour from the back ground you want.


5. This is where the machine really earns its keep. Increase the number of icing clouds to meet your needs or fill up your paper. I cut 24 in one go and still had room for more!


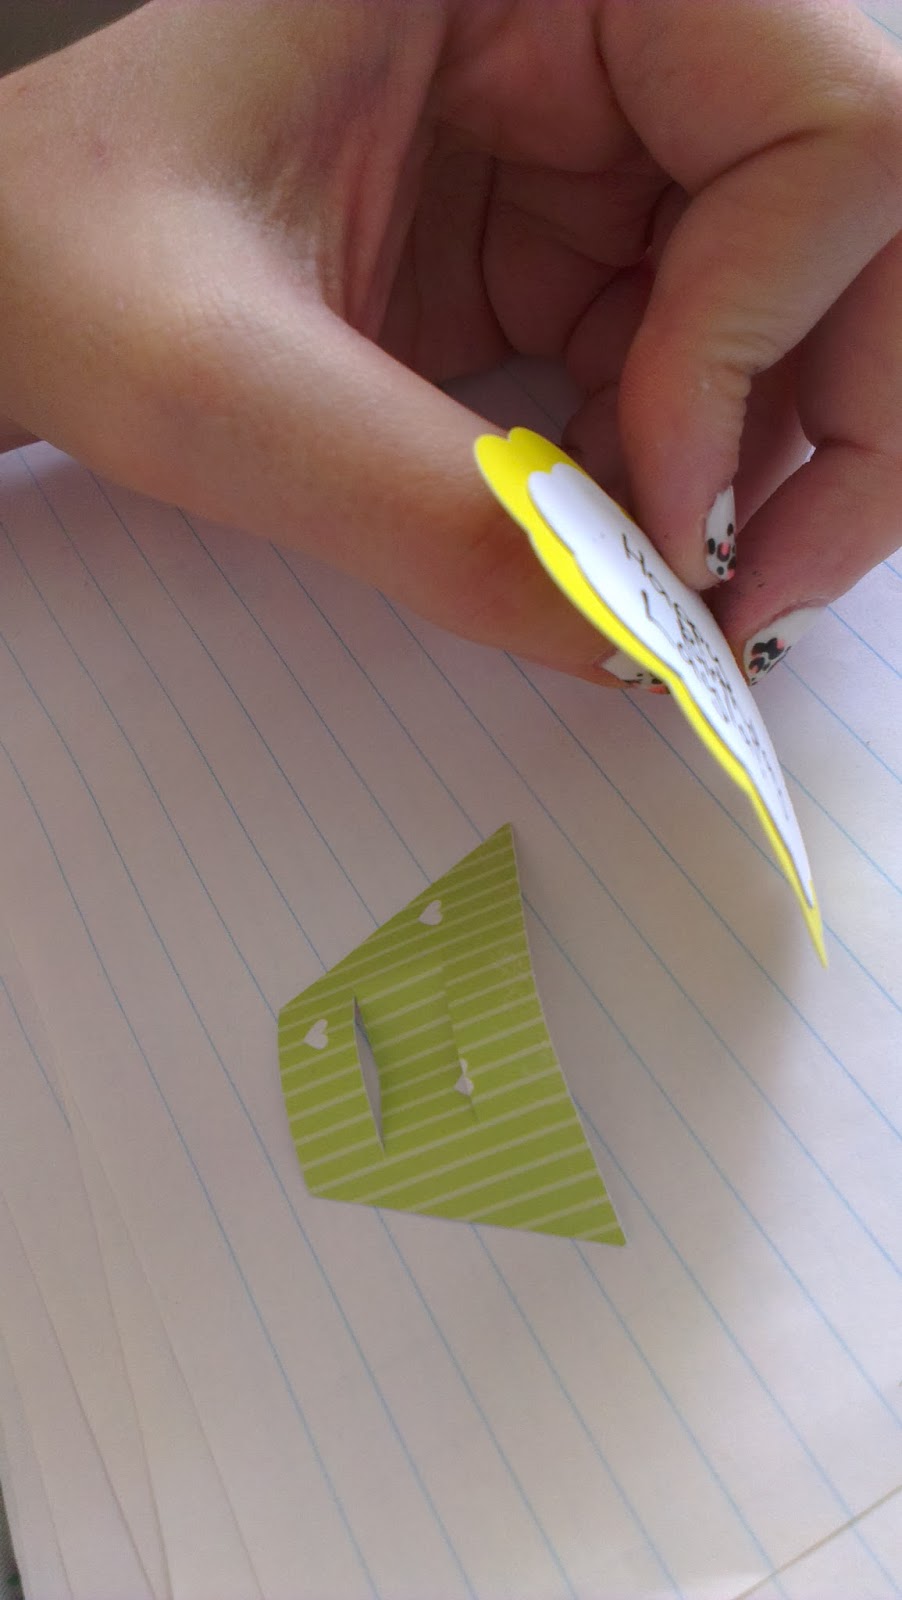
6. Assembling these is quite easy. Choose a base and icing background to go with the white. Glue the white to the front and when dry enough, write your message. Give the top and bottom pieces a bit of a bend to put them into shape.


7.Stick the base to the top with enough over-lap to cover the top slot. Cut off any excess tape.


8.Put your pen or pencil in through the top and you are ready with a cute gift, and if you already have a scrap-booking stash or even used some recycled goods, all it cost you were the pencils!


Wednesday, 22 January 2014

Back to School Clothes and Stationary HAUL

So, what's more fun than actually doing the preparation I need to for the new school year? Shopping for it of course!
After some light shopping yesterday afternoon, I initially went out to my favourite shop outside Kmart, but for pretty much the first time ever, couldn't find anything I wanted to spend my gift voucher on. So I wanted into Kmart to look for school supplies and ended up getting heaps of cheap tops and basics.
After that I went to Target, another random cheapo kind of shop and a Kaisercraft shop.
Finally this evening I went to Officeworks, and aside from heading back to Kaisercraft tomorrow to get cute papers to make these (below) pencil toppers, I have no excuses to not start addressing what actually needs doing.

Clothes:
Yellow, longish, hi-lowish, lace embellished tank- Kmart- $12
Peach/apricot, longish, hi-lowish, lace embellished tank- Kmart- $12
Owl print, flowy tank with buttons- Kmart- $12
Floral print, flowy tank with buttons-Kmart-$12
Leopard Print round neck jumper-Kmart-$20
Purple/green layered work out top- Kmart-$12
Black/purple layered work out top- Kmart- $12
Basic singlets with shelf mint and turquoise, no shelf black- Kmart- $3 each
Basic tank top dusty coral and dusty magenta (not as bright as they show up here) $2 each
Floral embellished strap tank-Temt- $19.95
Basic tank tops black, nude-Temt- 6.95 These feel like a much more expensive material, its a synthetic blend and is like a slightly suedey microfiber 
Basic Singlet, nude-Temt 4.95 Same fabric as the tanks.


Navy/Cream Damask harem (ish?) pant- Caroline Morgan- $20
Navy stretch skinny pant with zip detail-  Target- $15

Stationary (and random make up)

Five drawer storage tub, blue- Officeworks- 16.96
3 pack binder display books- Officeworks- $2.99
Pick'n'mix bulldog clips and magets- Officeworks- $4.99
Purple wire mesh tray and bin- Officeworks- $5 each
White 2D ring binder- Officeworks- $3.83
Tropical bird print binder- Kmart- $2
Geoprint pastel wrapping paper- Kaisercraft- $1
My Day Chart calendar- Kikkik- $5
Monthly planner (to use as weekly timetable) Kikkik- $10
Lexar USB drive 8GB- Big W- $4.95
Maybelline Dream Pure BB cream, medium- Big W- $15.75
Maybelline Age Rewind under eye concealer-Big W- $~16 Annoyed at myself for these two, I realised this morning that I should have gone to Priceline and got 3 for 2. They are both good products though, so I'm not too bothered. 

All in all I think I got really good buys for pretty much everything and should get good use/wear out of it all, pretty pleased, but not excited at the prospect of putting it away and clearing out some old stuff that is getting replaced. But that's a problem for future Emily. 

Wednesday, 15 January 2014

Crochet Toys- Amigurumi Snail

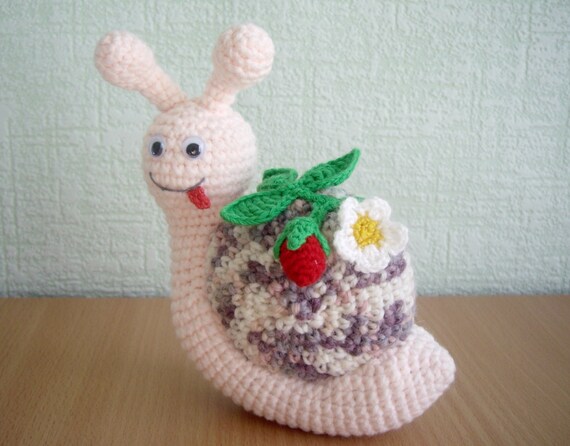
Yesterday and today I stayed inside in the dark, air-conditioned bliss of my lounge room doing some crochet. I made this little snail to be the mascot for my classroom this year. He hasn't got a name yet, feel free to add a suggestion. I love his (or her? ) kind of really creepy eyes hehehe.

I chose to make a snail because there is a saying I like that I want my class to remember all year:

 It doesn't matter how slow you go, as long as you don't stop.

I think it's a great saying to keep up motivation when you might feel like you aren't good at something or aren't getting anywhere with what you are trying to do. 

I got the pattern for the toy from an Etsy store:

kseniadesign


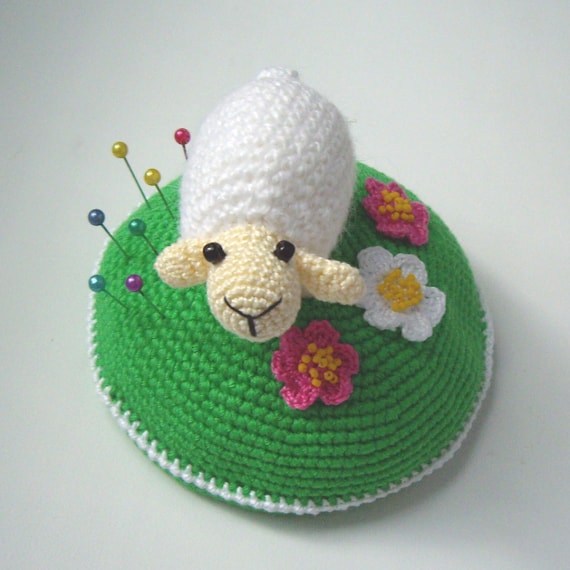
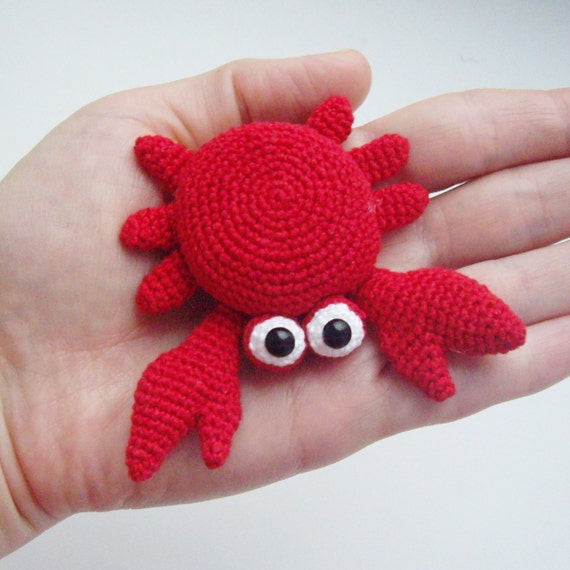
She has some other cute patterns and instant download which I always appreciate so I can get started right away! I'd rather like to make the crab and the lamb pin cushion. I found the pattern quite easy to follow and well set out. If you have never made a toy like this before you might need to try a few very in depth tutorials first to get the hang of the process, however she does include a file with extra tips for and explanations.