Showing posts with label pinspired. Show all posts

Thursday, 23 January 2014

Cupcake Pencil Toppers with Downloads!

I've organised myself enough that this will be the first year I actually properly acknowledge the kids birthdays. I have always had the class sing the song etc, but I have never had anything to give them in the way of a card or special stickers like some teachers have.
I saw these pencil toppers on Pinterest, however the link didn't go anywhere which was a bit annoying.
I used the Scan n Cut online software to make the templates for the top and bottom of the cupcake with the cut lines out of the basic shapes available layered on top of each other, so I didn't need to print anything or trace anything, just put the paper in the machine and let it do its magic! This cost me around $30-$35, but that is the cost of all the paper packs (closing down sale) and the pencils. I partially used 2 or 3 sheets from each pack, so the actual cost is much lower on a 'per pencil' basis.

To make these you will need:
-Scrapbook paper in a variety of colours/patterns/textures. My template fits 9 of the bases onto a mini square sheet and 6 of the large icing parts.
      Base Cut file for Scan'n'Cut
      Icing cut file for Scan'n'Cut
      Base image to print
      Icing image to print
-White card stock for the small inner icing parts
-Cute pencils or pens to put them on.
-Scan'n'cut machine (or you can print and trace to cut them out yourself)

1. Choose your papers!
2. Load the base and icing cut files onto a USB to use in your machine, or print and cut using the picture template. The image file hopefully can be used with other cutting machine software.


3. Arrange the shapes according to how many you want to cut on each paper. I always stick down the papers as I find the mat is just not always quite sticky enough, even then sometimes after the outline is cut a piece will still move and not cut quite right. It's a bit of trial and error with different papers.

4.Cut out you large icing backs using the regular size cut file. For the white smaller part, I reduced the size of one a couple of time until I was happy with it (about 10mm in the width option with the height/width ratio locked), again it is a bit trial and error here depending on how much writing space you want and how much colour from the back ground you want.


5. This is where the machine really earns its keep. Increase the number of icing clouds to meet your needs or fill up your paper. I cut 24 in one go and still had room for more!


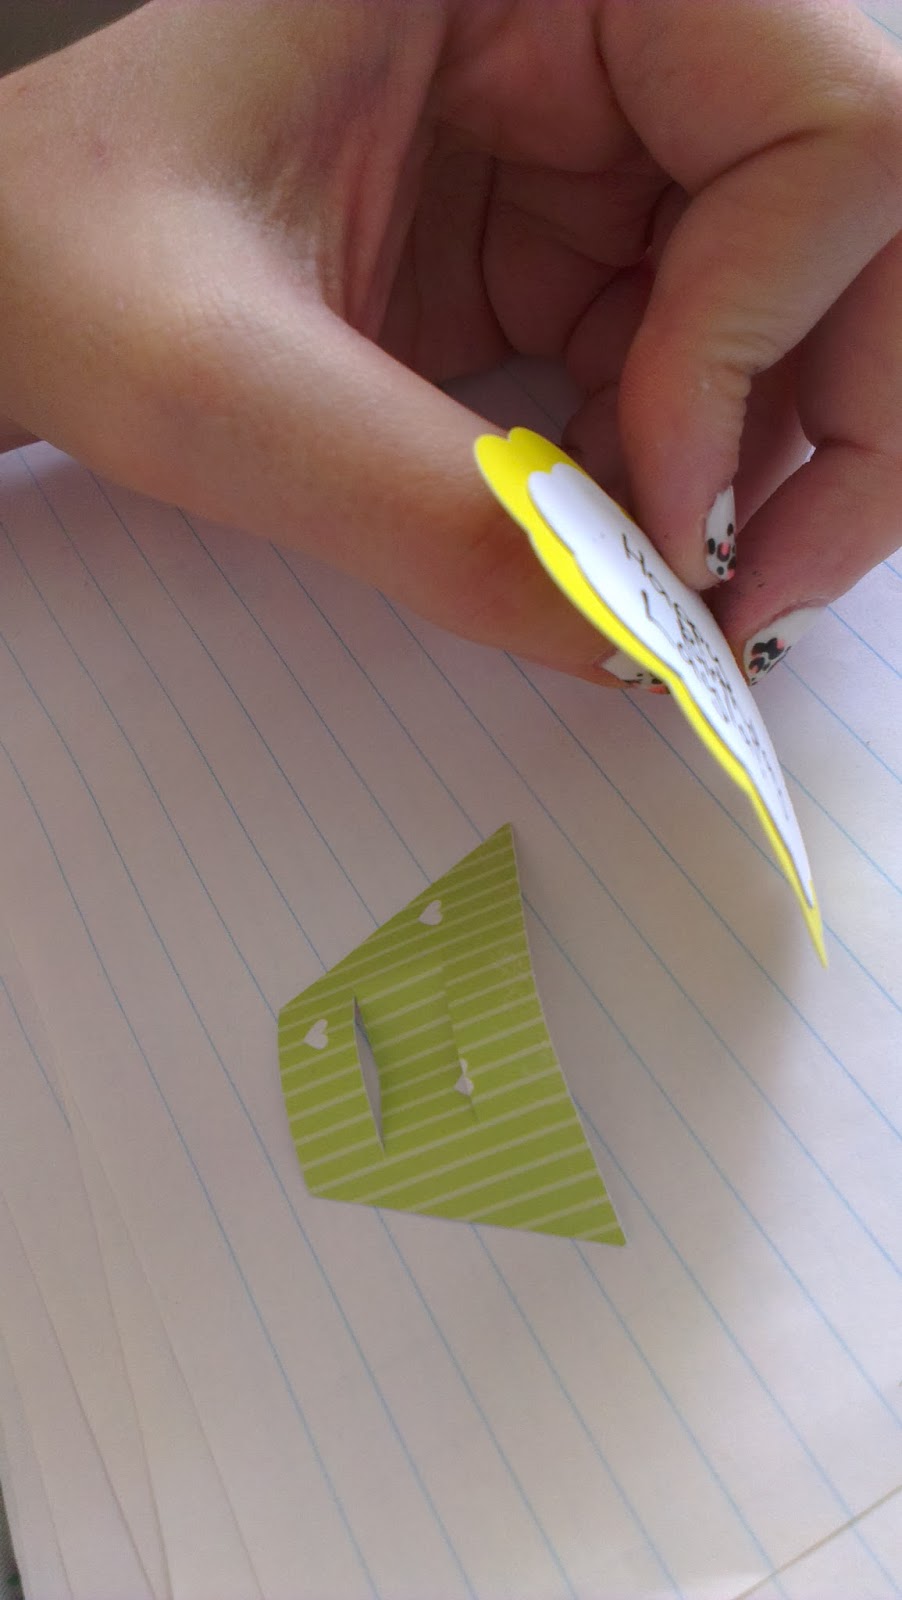
6. Assembling these is quite easy. Choose a base and icing background to go with the white. Glue the white to the front and when dry enough, write your message. Give the top and bottom pieces a bit of a bend to put them into shape.


7.Stick the base to the top with enough over-lap to cover the top slot. Cut off any excess tape.


8.Put your pen or pencil in through the top and you are ready with a cute gift, and if you already have a scrap-booking stash or even used some recycled goods, all it cost you were the pencils!


Sunday, 5 January 2014

Simple Hanging Planter Box DIY

Today I was perusing Pinterest and I came across this photo (originally it came from this blog):
I thought this looked pretty easy to make and pretty to look at! A great way to grow small leafy things like herbs or flowers, and hopefully some of the bugs can be kept away.
We also have the luck/misfortune of having a garden tent with no roof just laying around. So I claimed it for my plants and headed off to Bunnings with the BF to gather supplies.
We already have tools/scraps of wood/screws/zip-ties. hanging around so we just bough a 1 meter section of 100mm PVC pipe and 10m of chain so it only cost us $30. Then I went and did my other planting, sometimes taking photos, while the rest happened....


To make your own hanging garden you will need:
PVC pipe
Chains of some variety (we used 4 lengths of 2.5m which was a fair bit longer than we needed)
Zip ties
Jig-Saw cutter
Screw Driver
Screws
Wood scraps to make ends- or you can buy the ends that go with the pipe you get and cut them in half.
Tent pegs/weights


  1. Cut the pipe in half longways and then across so that you have something like in the picture.
  2. Trace the inside of each end and cut out to create the ends and stop everything falling out.
  3. Attach the end pieces with screws.


  4. Decide where you are going to hang your planters and zip-tie the top of the chains in place. This doesn't seem to need to be perfectly even on all sides as you can adjust it, but it would be a good idea to measure out the placement if you aren't hanging on something that gives you guidance like the tent frame did for us, just to keep things hanging down fairly straight.
  5. Hold up your piping and mark where you need to drill holes and you are ready to hang.  While you are there, drill some holes in the bottoms of the pipes to allow for drainage.
  6. Use zip-ties to connect each of the 4 holes to the chain, making sure to keep them nice and flat. To space them evenly count the links between the first two and then continue that pattern. 
  7. Finally use a tent peg or a weight of some kind to keep the ends on the ground and stop everything flinging around in the wind. 
And that's all their is to it! Not that I actually did the making...but it seemed easy enough and didn't take long at all. I haven't put anything in it yet as I bought some seeds for lettuce, basil (I really hope it will be protected from snails and whatever keeps eating it every time I grow it by being up high), parsley and thyme to sprout and then have in there to grow. I will post photos in a few weeks when I have something in them. I might spray paint them as well, but I'm not sure what colour yet.


I also bought some climbing beans and pumpkin seedlings as I believe its a bit too late now to grow from seed. I used the middle part of an old bed frame where the slats used to sit for the pumpkin vine to grow up and an old fly screen for the beans. I've never tried either before but hopefully it works!

I'm really excited with my new little garden patch, being in a rental we can't dig up a veggie patch or anything like that so this is giving me some more options and it is completely removable. Please let me know if you can think of what else to add! It will also be a lovely place to sit for the rest of the summer as it gets great shade in the afternoon- great spot to sit and read and sip something tasty after a not-so-hard day of holidays!